

TeleToyland Sandbox How It Works: Step 2
Step 6: Mouting Drive Belts, Pulleys, and Brackets
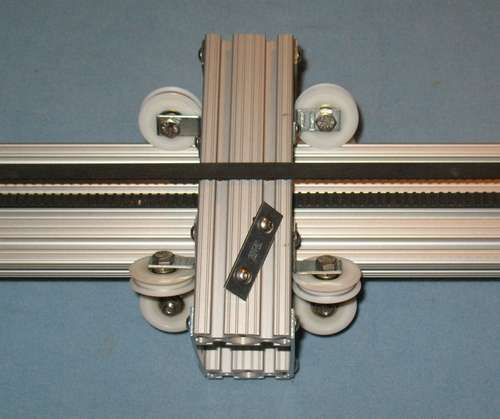
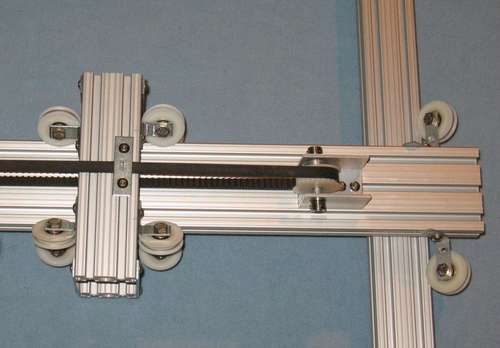
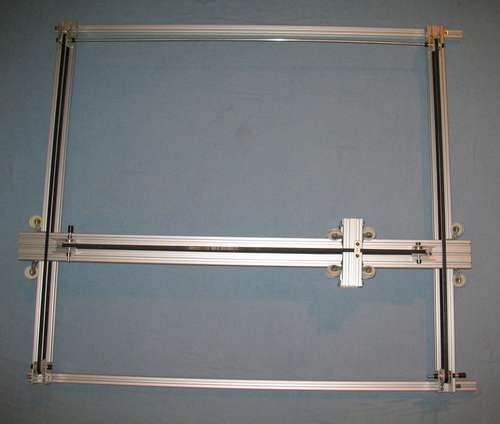
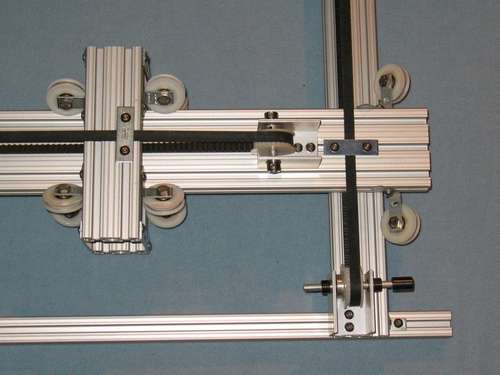
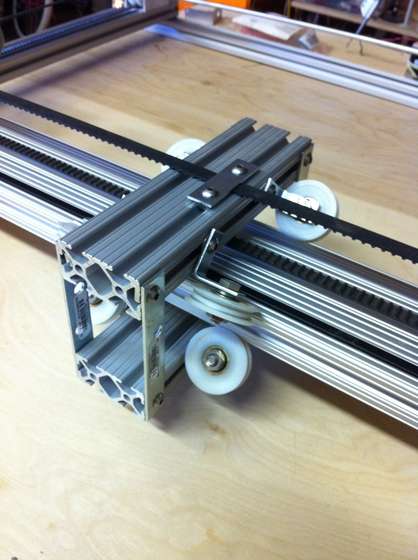
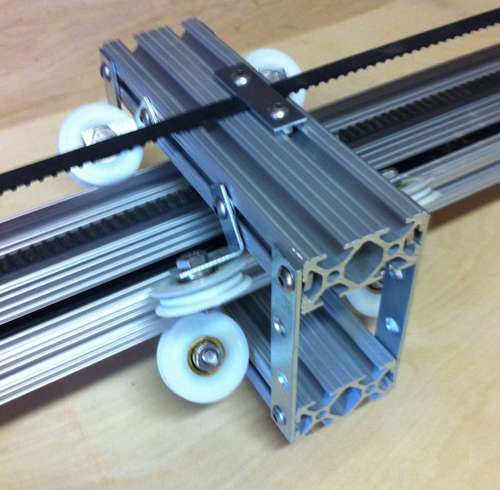
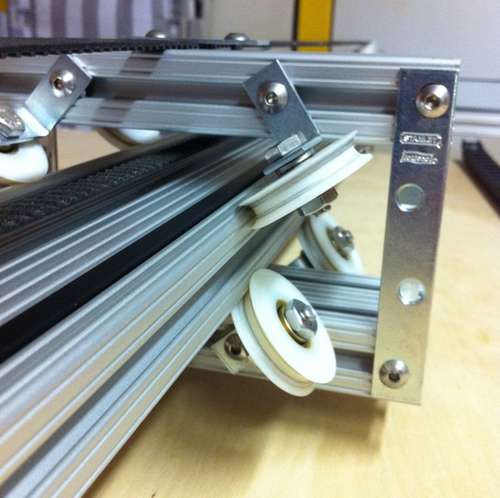
For this step you will probably be disassembling and assembling the brackets and bearings a few times. It's easier than trying to get all the belts right beforehand.For the Y Axis, center the top two brackets on the Y axis 1x3 - do a loose fit, then measure the difference to the ends and center it. You can probably even set them just by eye since precise positioning does not matter that much. Assuming you did not put the belt through the Y Axis Carriage before: To get the belt through the Y Axis carriage, you will need to unscrew one 4" plate and one roller, then fasten them back, followed by the second 4" plate and roller. We recommend doing them one at a time to prevent loosening the carriage parts too much.
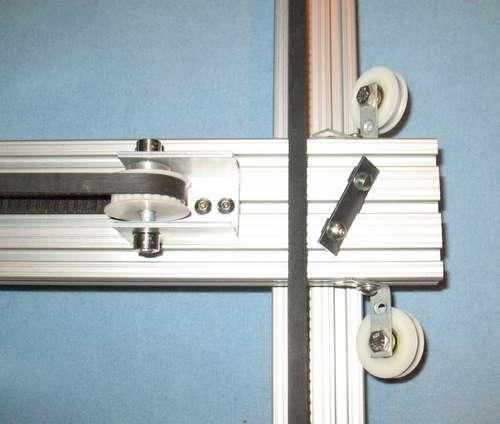
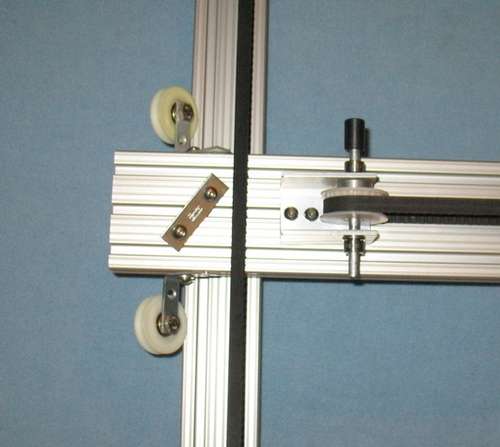
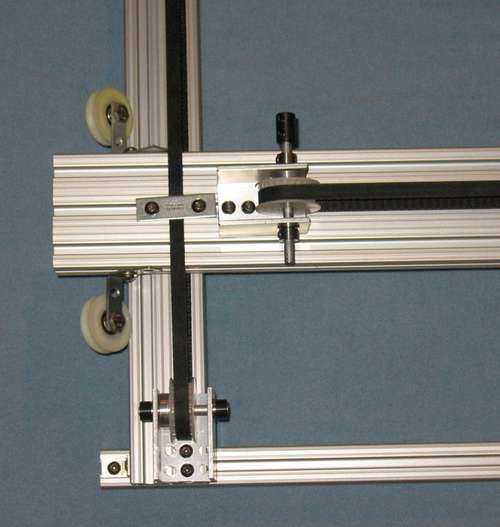
The 2" plates are used to hold the belt down on top. Sometimes catching the square nut (for the inside one) below can be tricky - use the wrench to make sure the nut is level first. The special T-Slot hardware is much better in this situation, but kind of expensive in quantity. This is the only place where it would really help since all the other locations allow you to attach the nut, then slide it on. One of the nuts on each plate can be pre-attached, so only three nuts have to be done this way - it's slightly tricky, but doable.
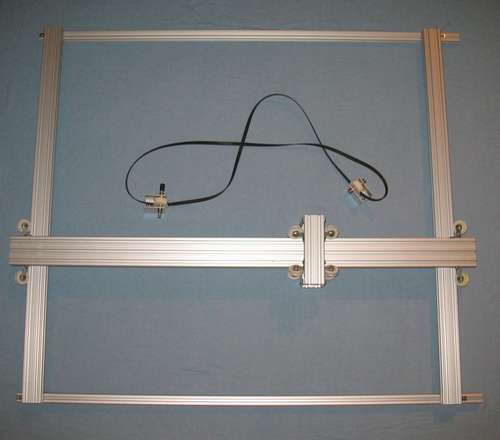
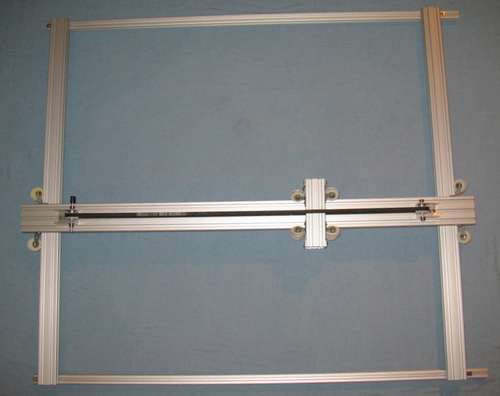
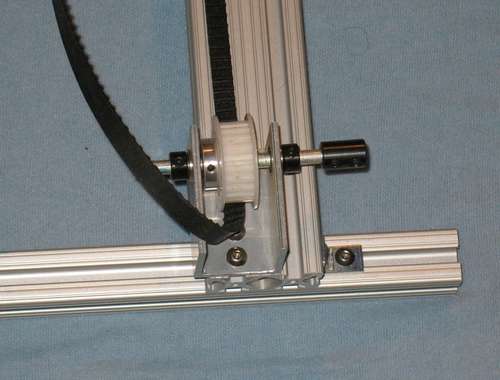
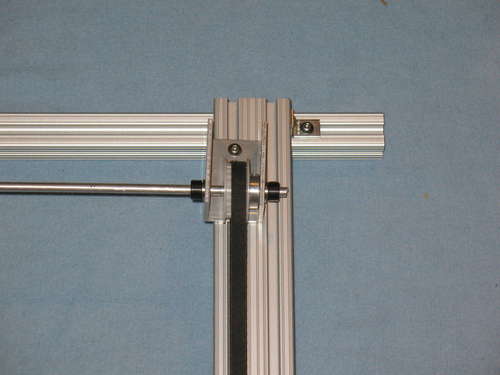
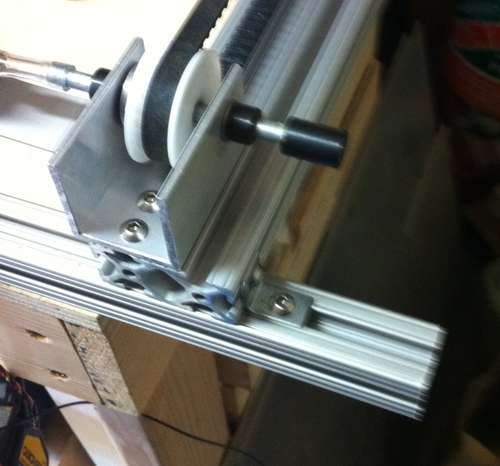
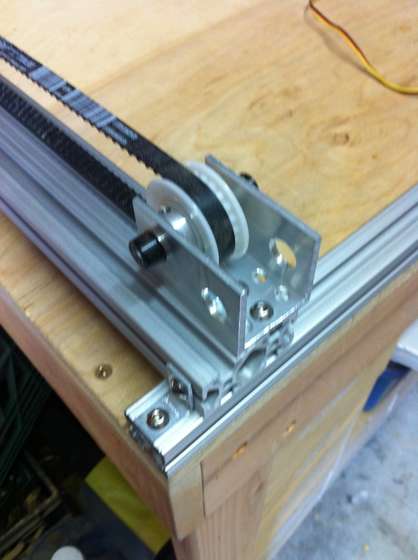
For the Z axis, there are belts on both sides to prevent racking, and the long 1/4" shaft is to connect the two sides together.
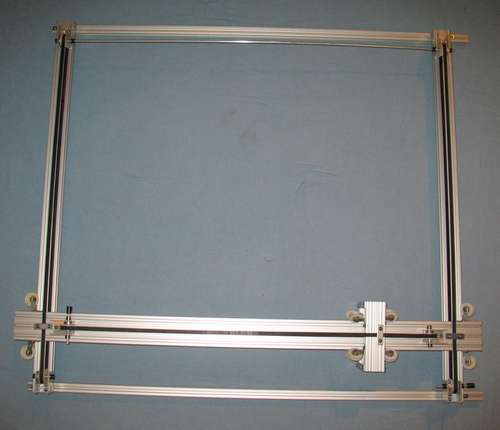
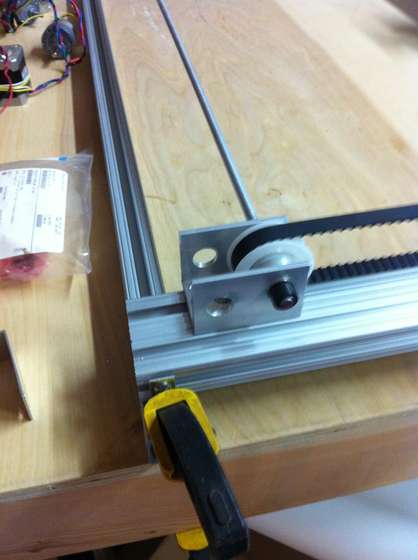
From the pictures, you can see the placement we used for the motors - marked by the longer shafts and black shaft couplers - see the next step. We chose these locations so they would not hit each other, but other locations may be possible.
This completes most of the mechanical assembly - from here you can choose your own motors and electronics!
Intro | 1 | 2 | 3 | 4 | 5 | 6 | 7 | 8 | 9