

TeleToyland Sandbox How It Works: Step 2
Step 4: Y Axis
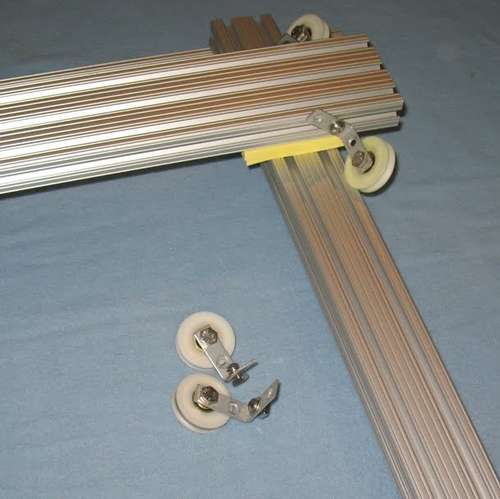
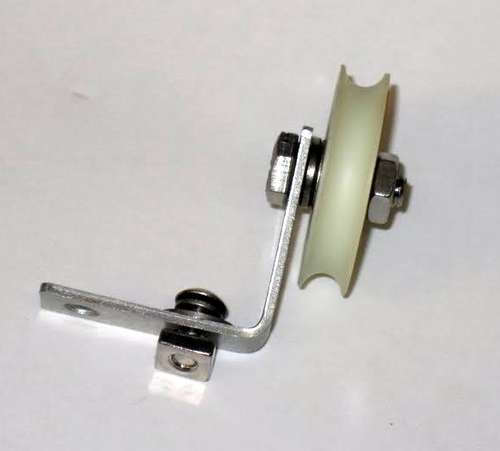
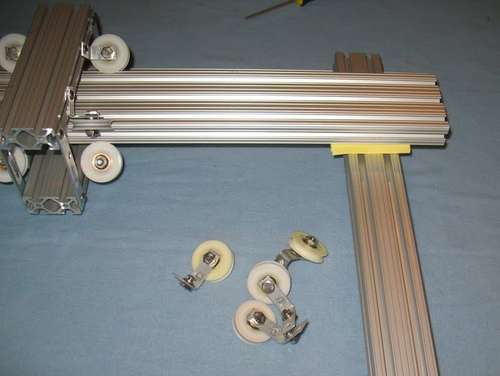
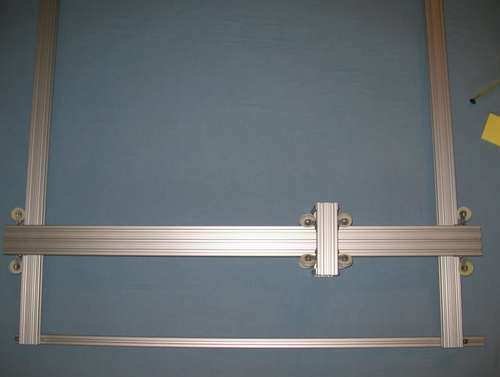
The Y axis is pretty easy to build and takes just a bit of adjusting to get right. The Four rollers are mounted using the 1.5" angle brackets. Since we only get one screw on each wheel, we used a longer #10 screw (7/16"), a washer and a split lock washer to help keep them tight.As with the Y Axis carriage, putting the Y axis up on some small spacers seems to help the initial setup, and then you can go around and adjust them one by one. For us, the space was about 1/2", and we found that two post-it pads was about right. Make sure the Y Axis 1x3 t-slot is square in the frame as you make your adjustments.
We were avoiding making custom brackets, but clearly, this would be a good place for them if you are so inclined.

Intro | 1 | 2 | 3 | 4 | 5 | 6 | 7 | 8 | 9