

TeleToyland Sandbox How It Works: Step 3
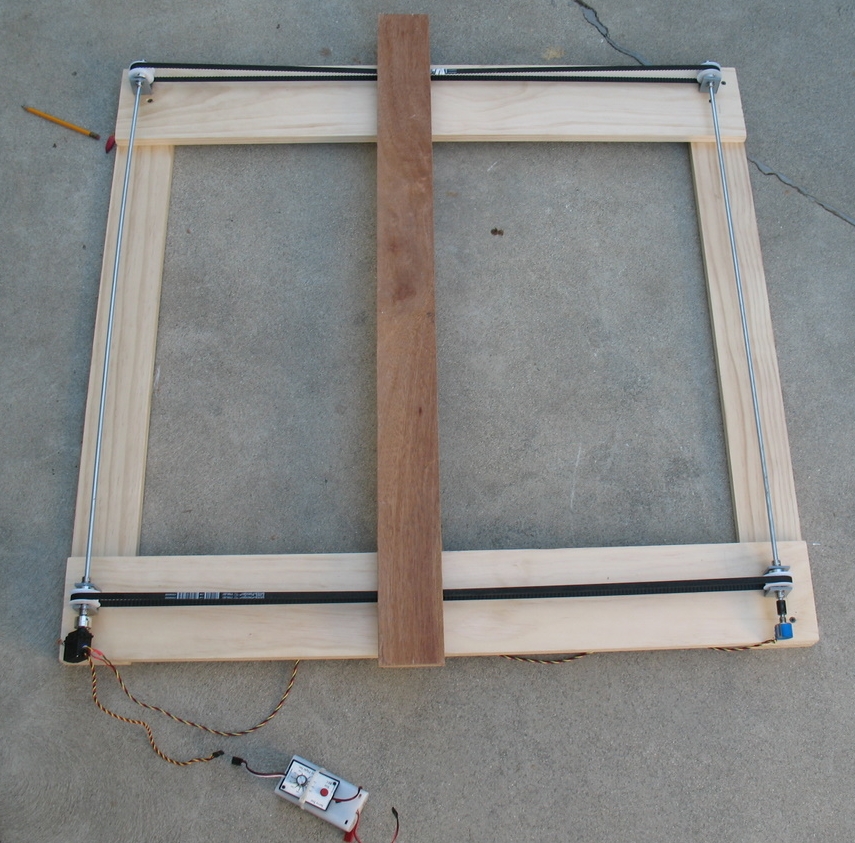
Step 3: X Stage Frame and Drawer Glides
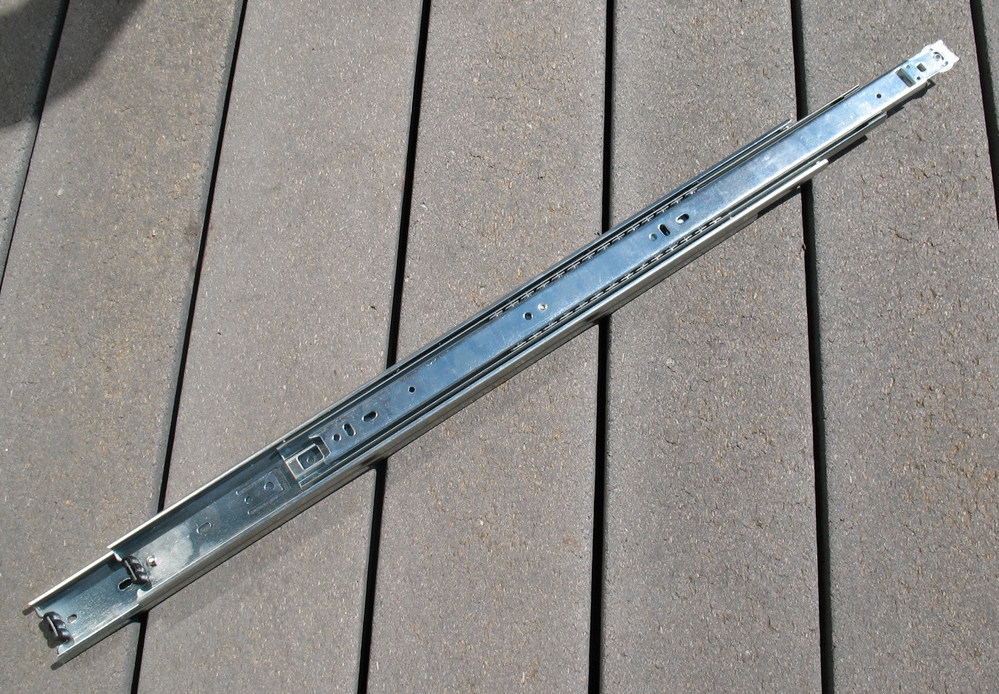
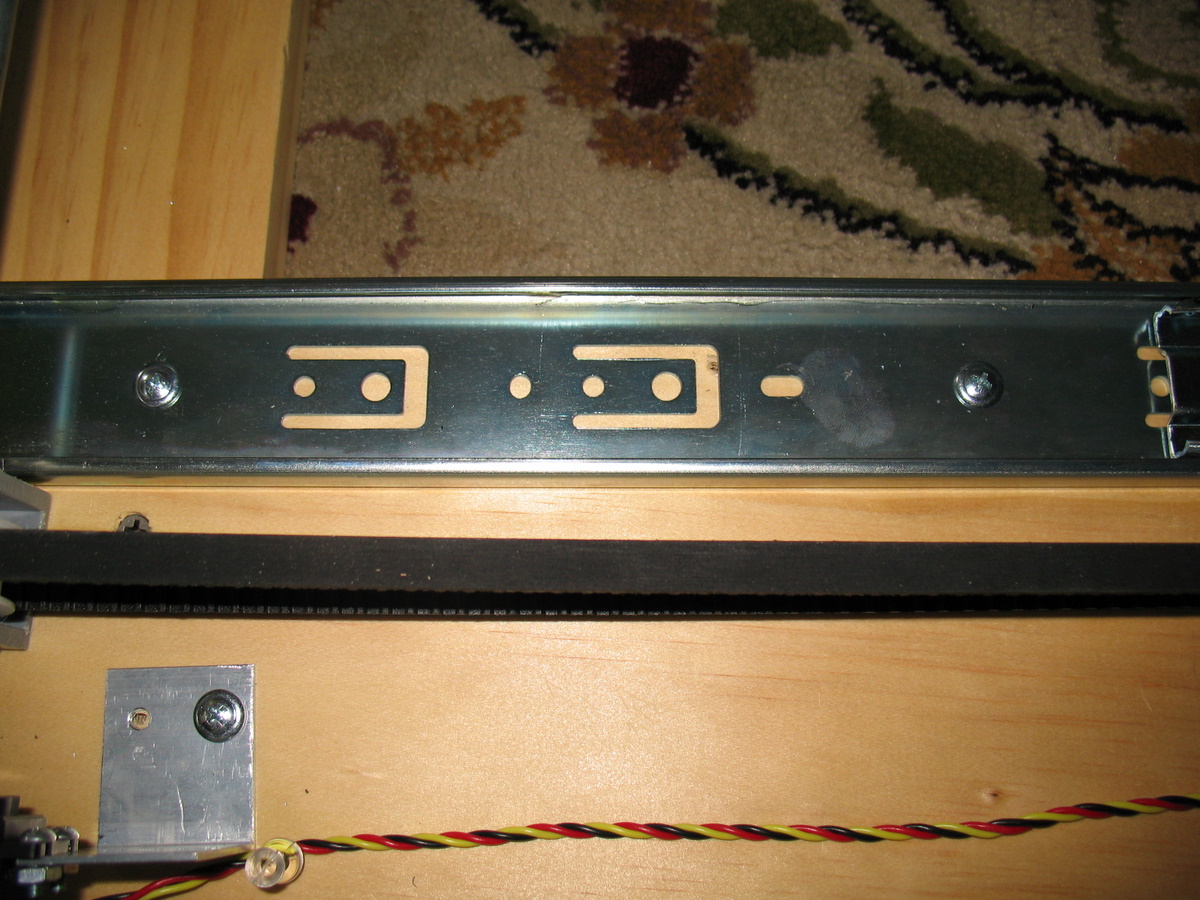
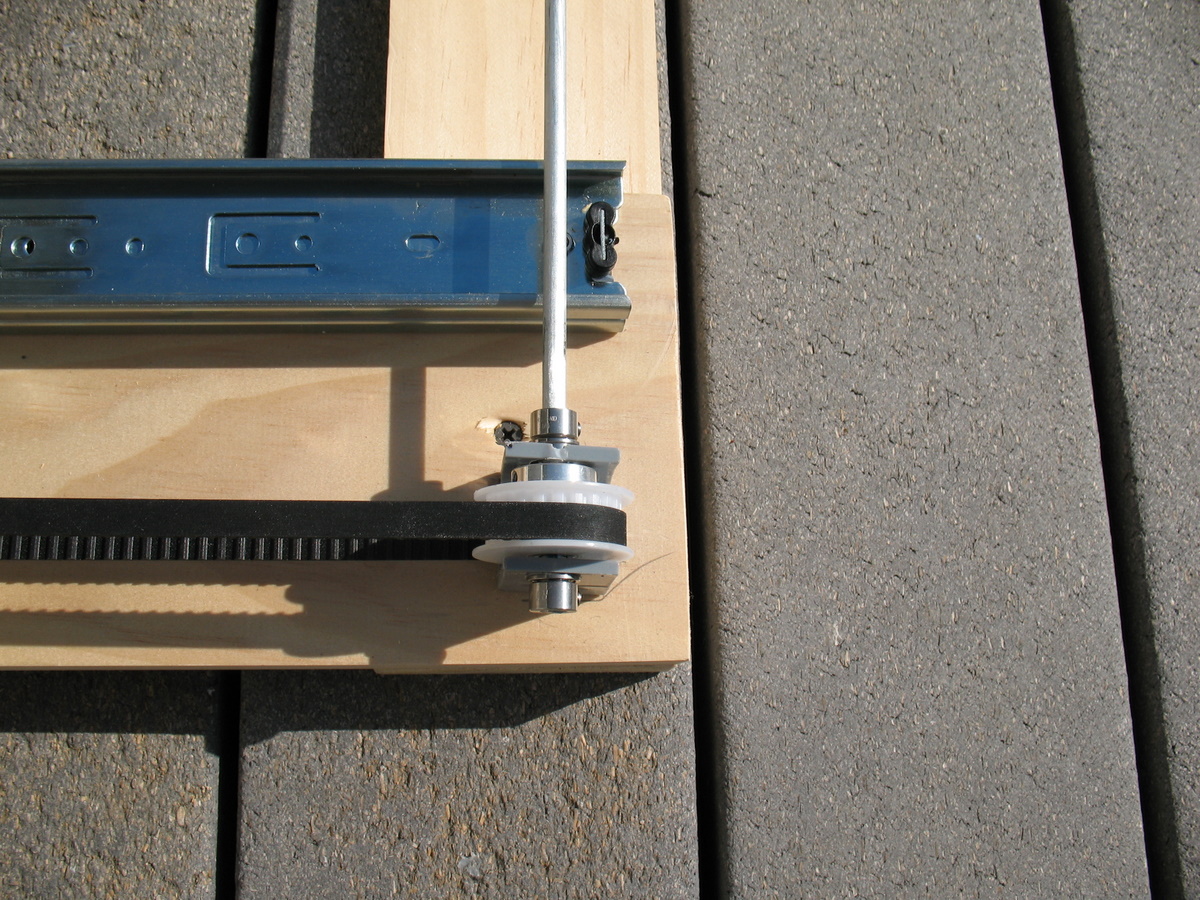
We built the frame from 1x4 and 1x6 pine - we used the fancy grade to limit the amount of warping etc. The length of the 1x6s was 40" to allow for the length of the belt plus a little extra room. The 1x4s were 38" long, but it looks like they could be 40" too. Maybe someday... Screw the 1x4s on top of the 1x6s with a couple drywall screws in each corner. If the screws get in the way when mounting the pulleys later, you can move them. The 1x6s are on top to allow the most room for the mechanics. Make sure to make the frame nice and square - measuring the diagonals works pretty well. Once the frame was complete, we mounted the timing belt pulleys and timing belts. We used a timing belt on the opposite side to help prevent racking as it moves, and it turned out that we only needed one shaft to go across, though we had originally used a long shaft on both ends.Once we had that working and tested (OK, we cheated and did step 6 first :-)), we added the two drawer glide combos. As described in Step 1, each one was two drawer glides attached top to bottom to give a longer extension with less expensive glides. The ones we had allowed you to remove the top glide (of three), making mounting much easier. We used 6-32 screws and cut off any excess with a Dremel tool.

Intro | 1 | 2 | 3 | 4 | 5 | 6 | 7 | 8